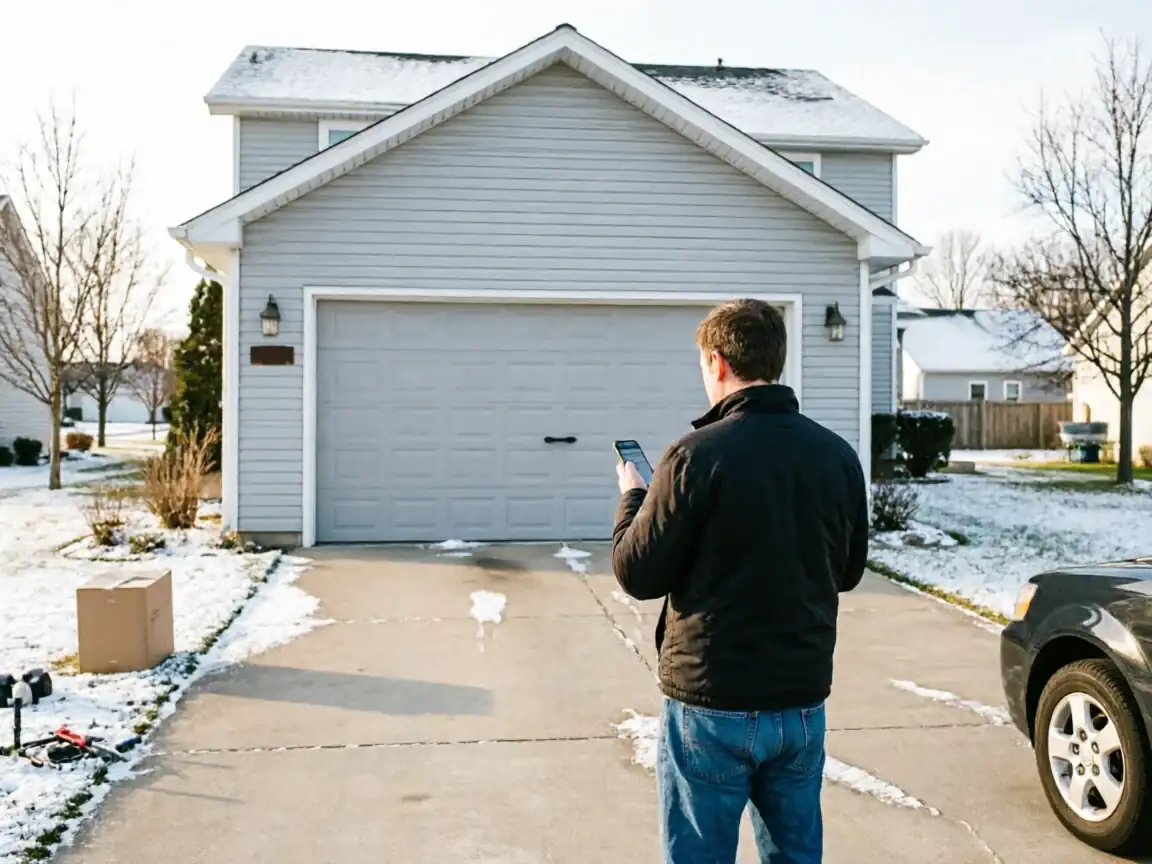
The Symptom
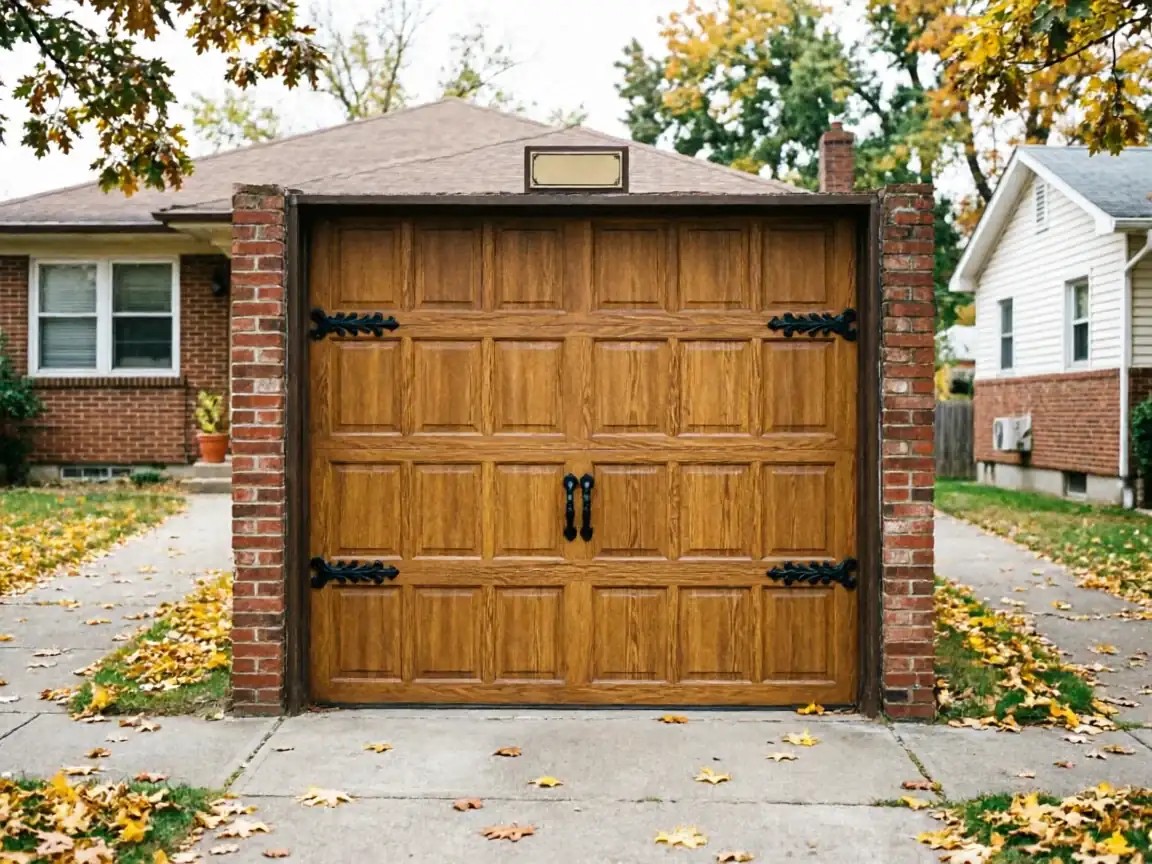
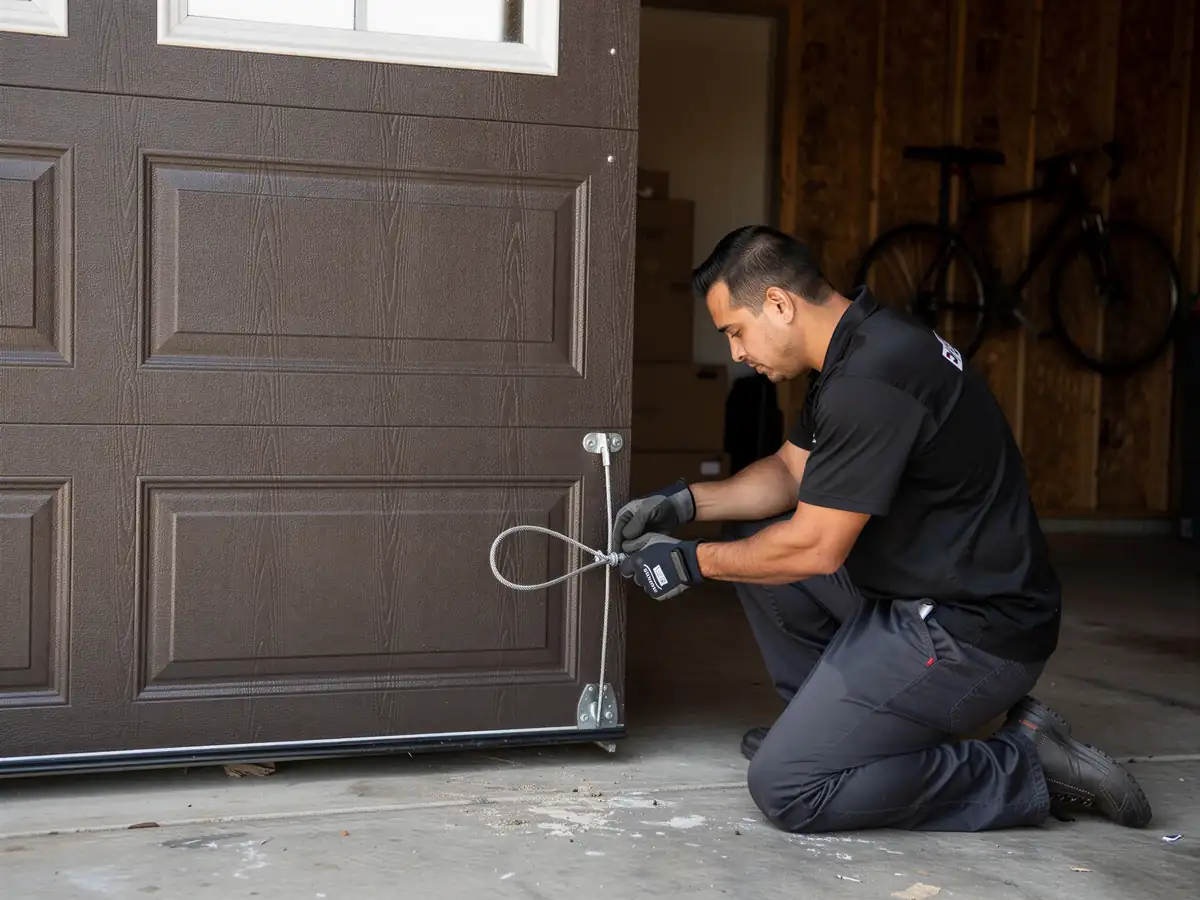
Start with the number that actually decides this job: median household income in South Hutchinson runs around $42,221, well under the $63,119 median for the wider Hutchinson service area. That gap matters because a new 16-foot steel door with a mid-grade opener isn't cheap, and at this income level the repair-or-replace line sits in a different place than it does in the pricier parts of town. For a lot of owners here, a door that's merely rough - sticking on one track, a roller that rattles, an opener that's starting to strain - is worth fixing one more time before it's worth replacing outright. The symptom that actually pushes someone to full installation is usually a door that's failed in a way repair can't touch: a bent top panel from a backed-into collision, a cable that's shredded and taken the track with it, or a torsion spring that's let go and cracked the center bracket on the way down. If your door still opens and closes on its own power, this page probably isn't the one you need yet - the repair side of the job is cheaper and it's worth ruling out first.
Where This Job Goes Sideways
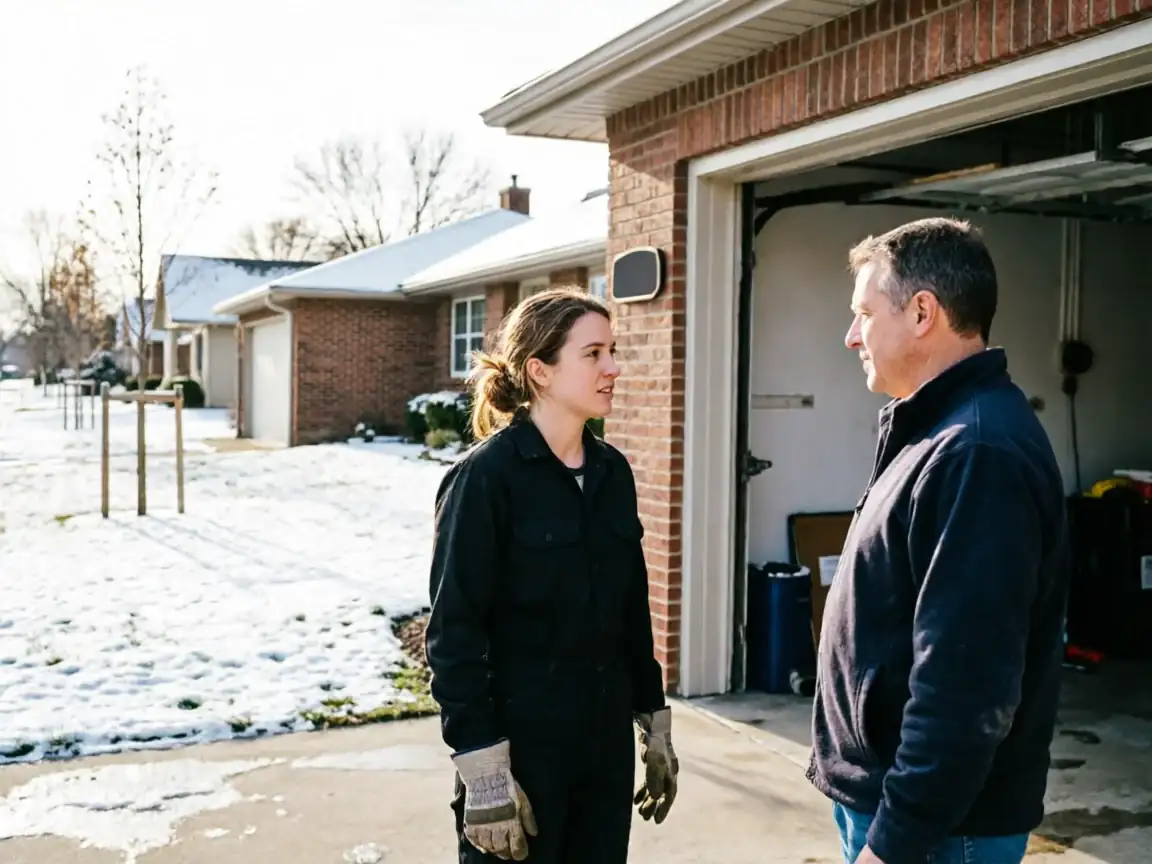
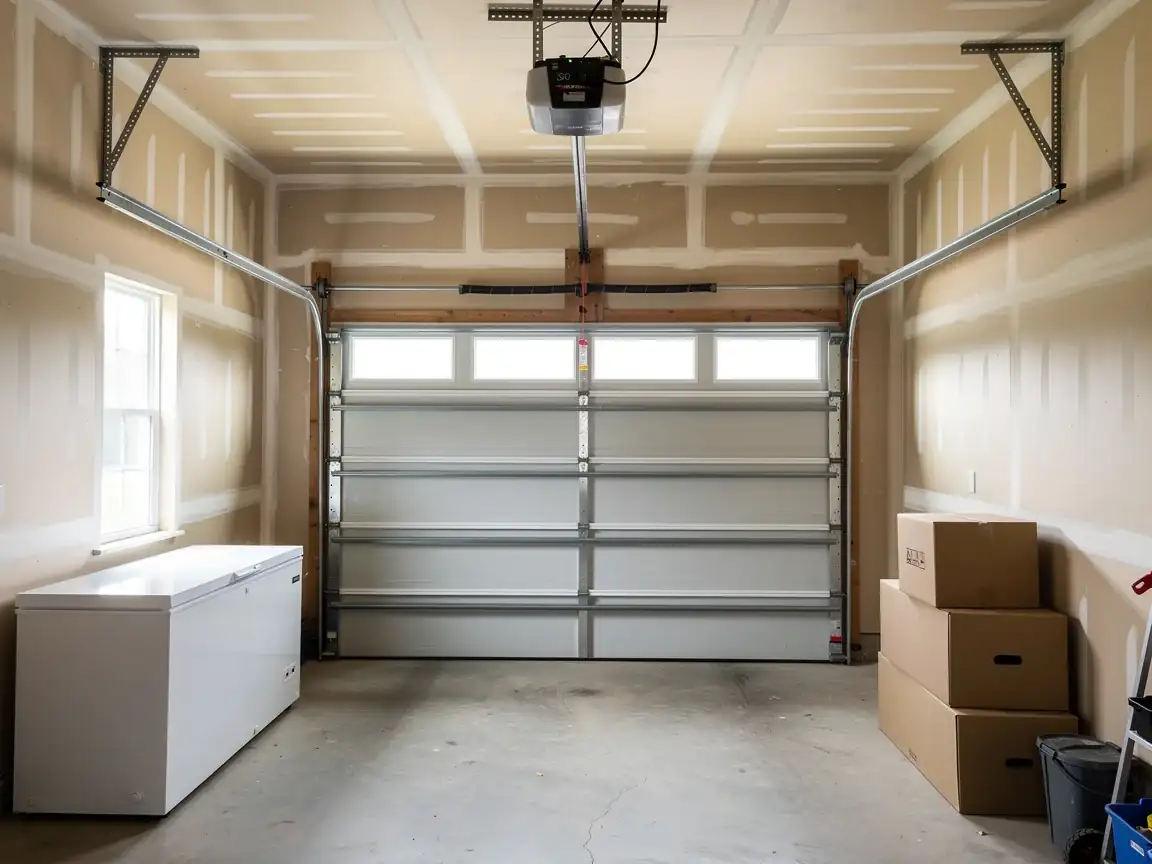
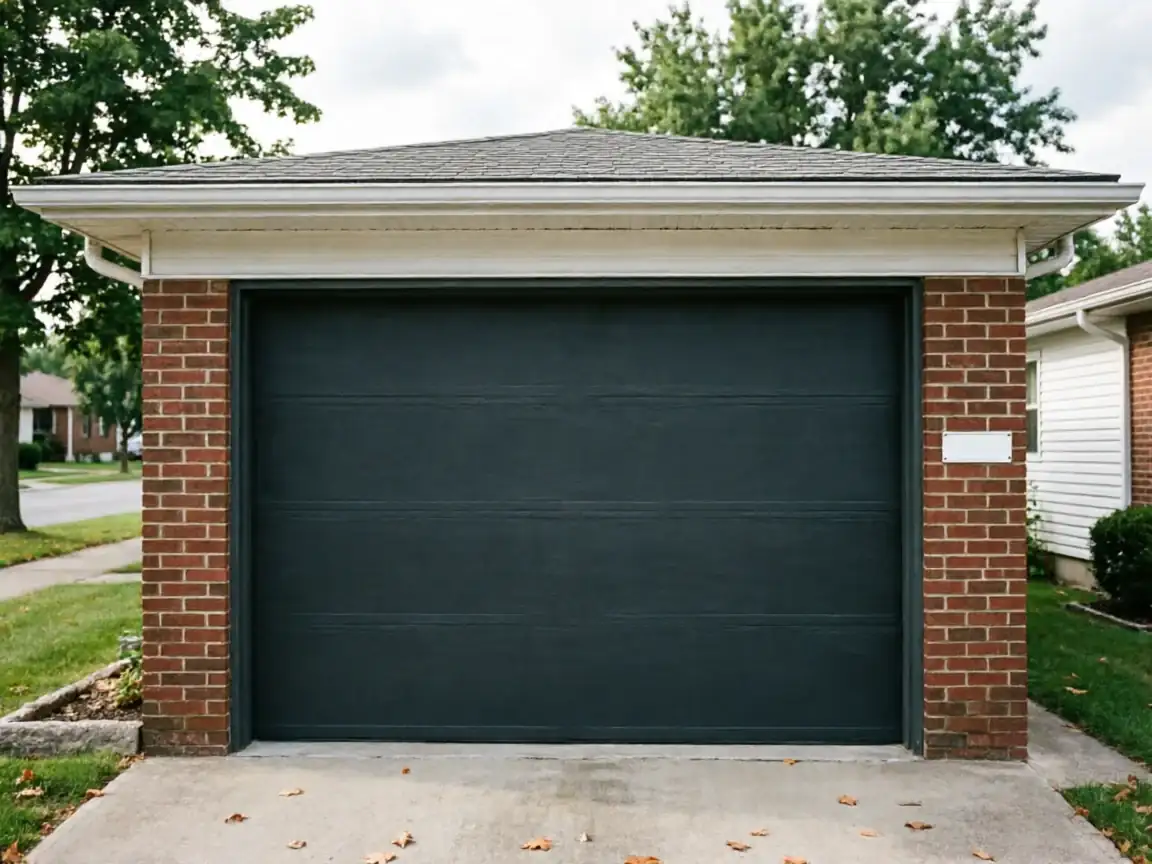
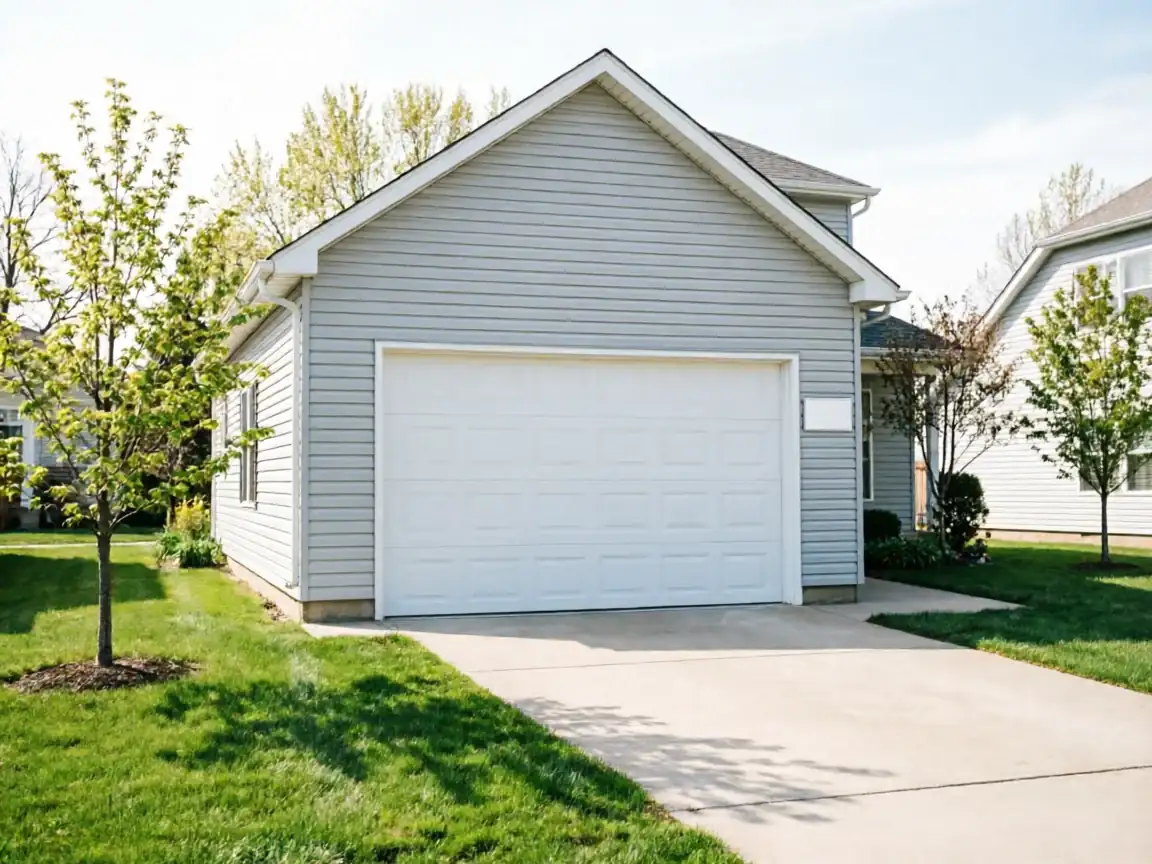
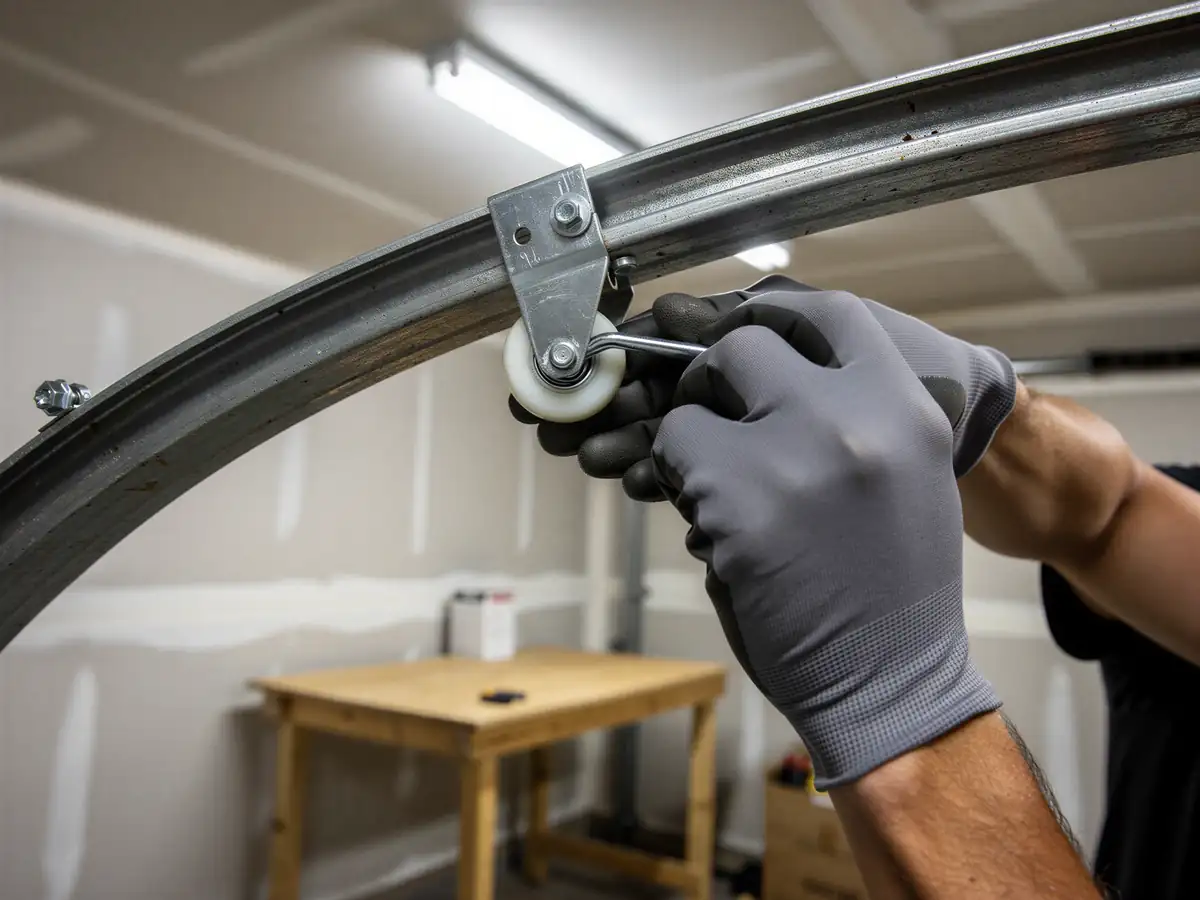
The most common mistake on an installation like this is ordering a door sized for the opening as it exists now, without checking whether the original framing was square. Houses built in the early-to-mid 1970s weren't always framed with much tolerance, and after fifty years of settling, an opening that measured fine on paper can be out of square by an inch or more. Hang a standard door on an opening like that and you get a gap at one corner that no amount of weatherstripping fixes. The other place this goes wrong is track clearance - garages from this era were built to fit cars that were narrower and lower than today's trucks and SUVs, so a modern insulated door with thicker rail can bind against the ceiling joists or the header if nobody measures first. We travel from Hutchinson, about 4 miles up the road, to do the measuring in person before any door gets ordered, because a tape measure over the phone is how you end up with a door that doesn't fit.
How We Fix It
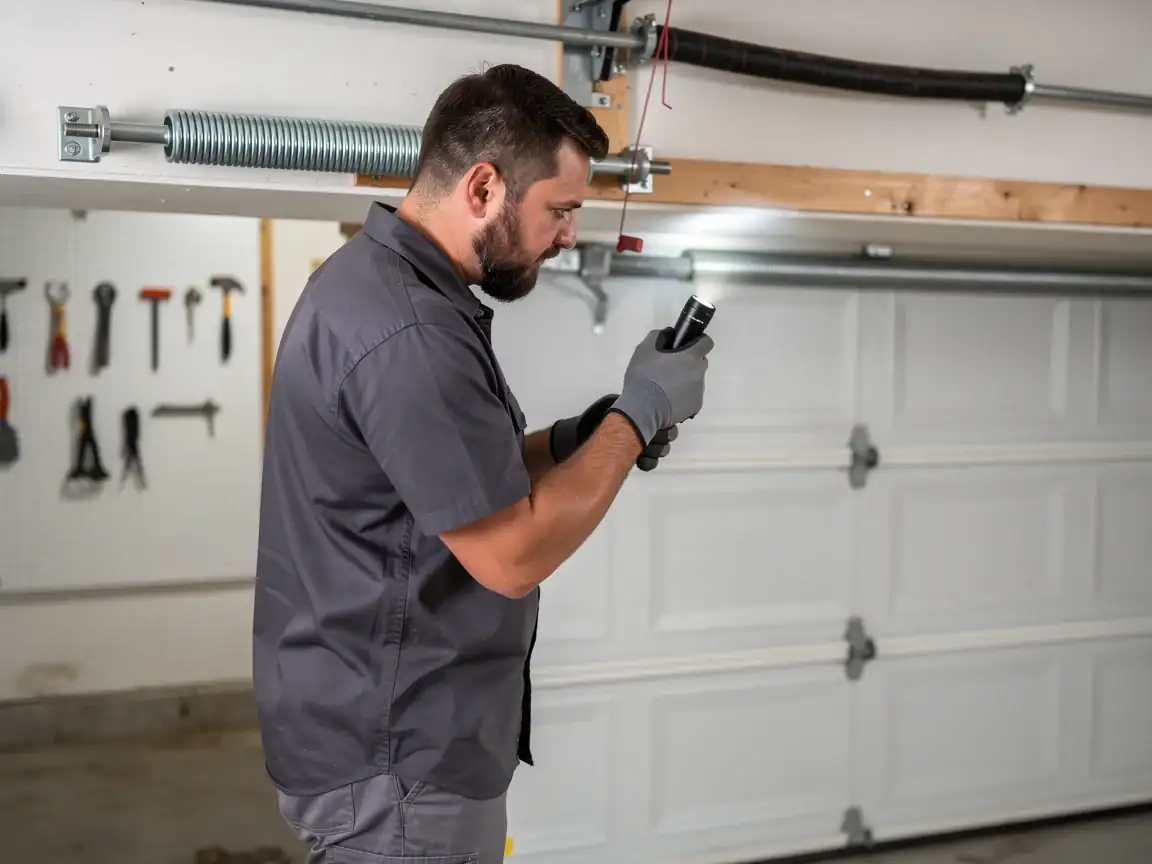
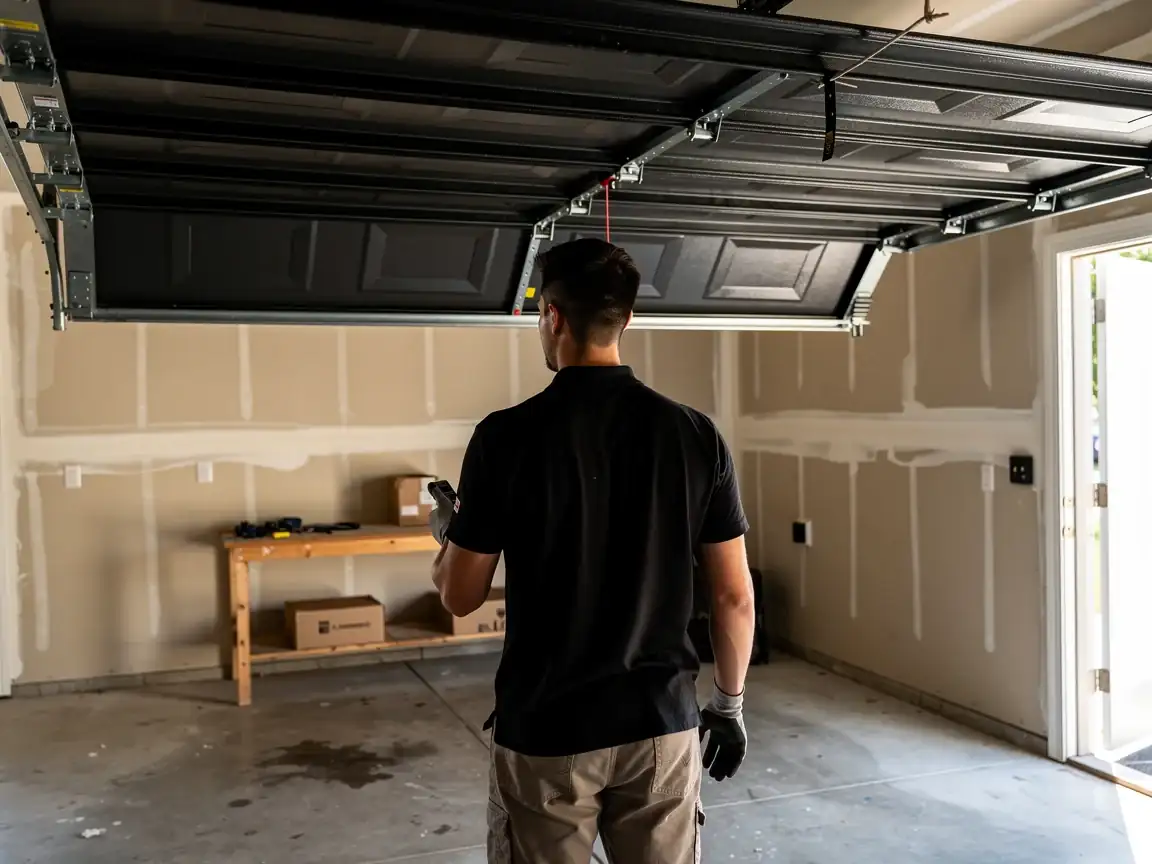
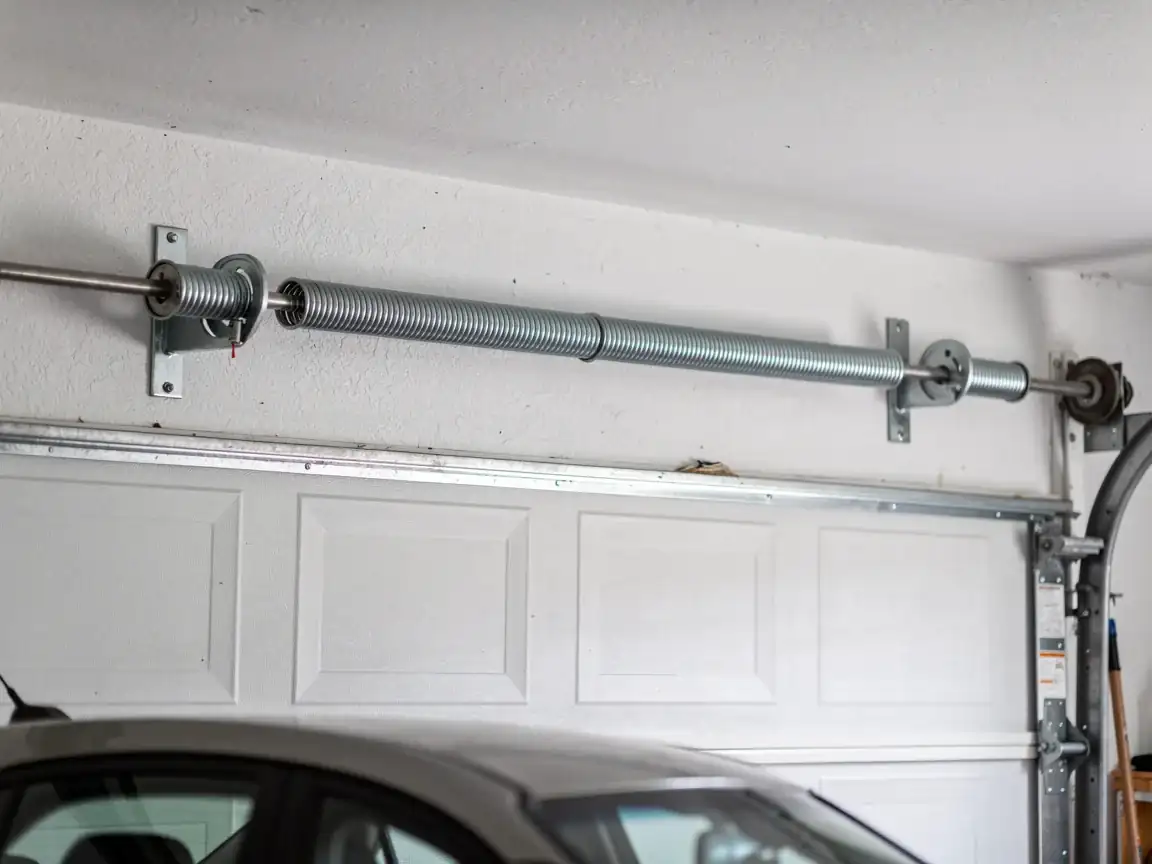
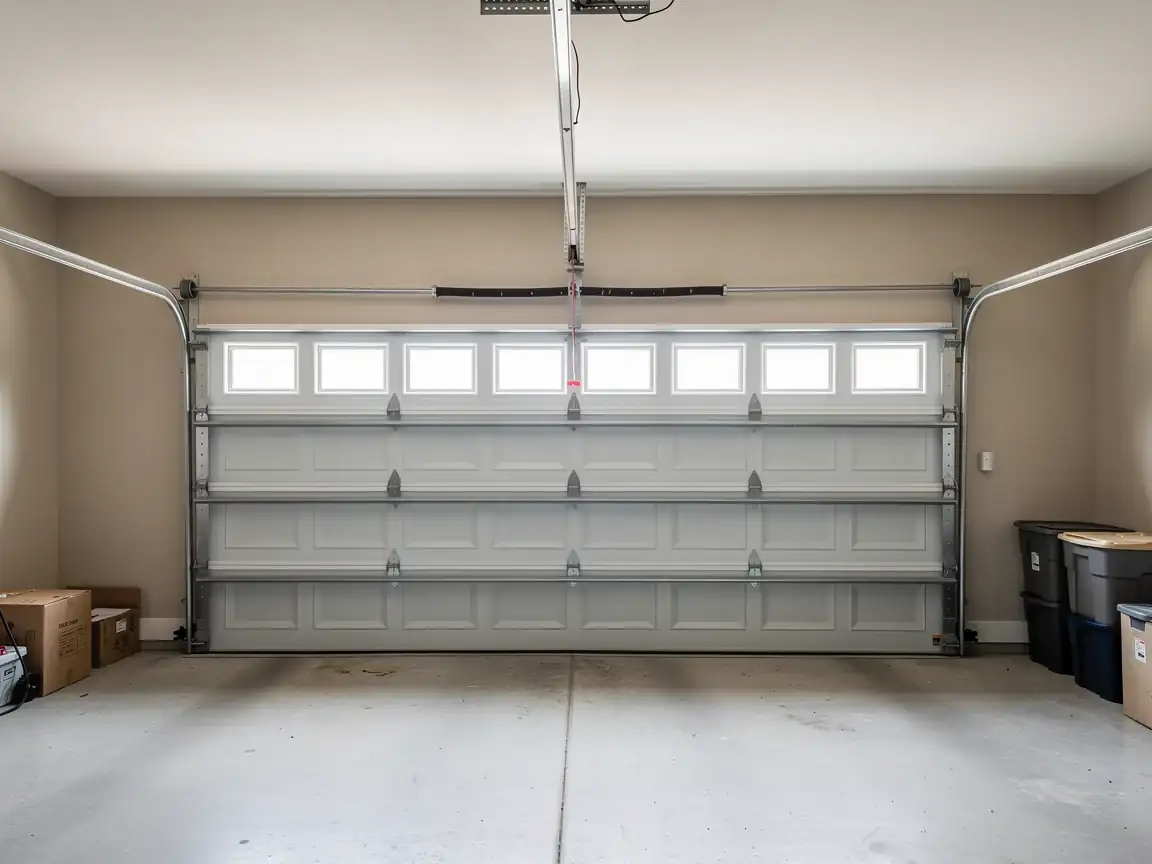
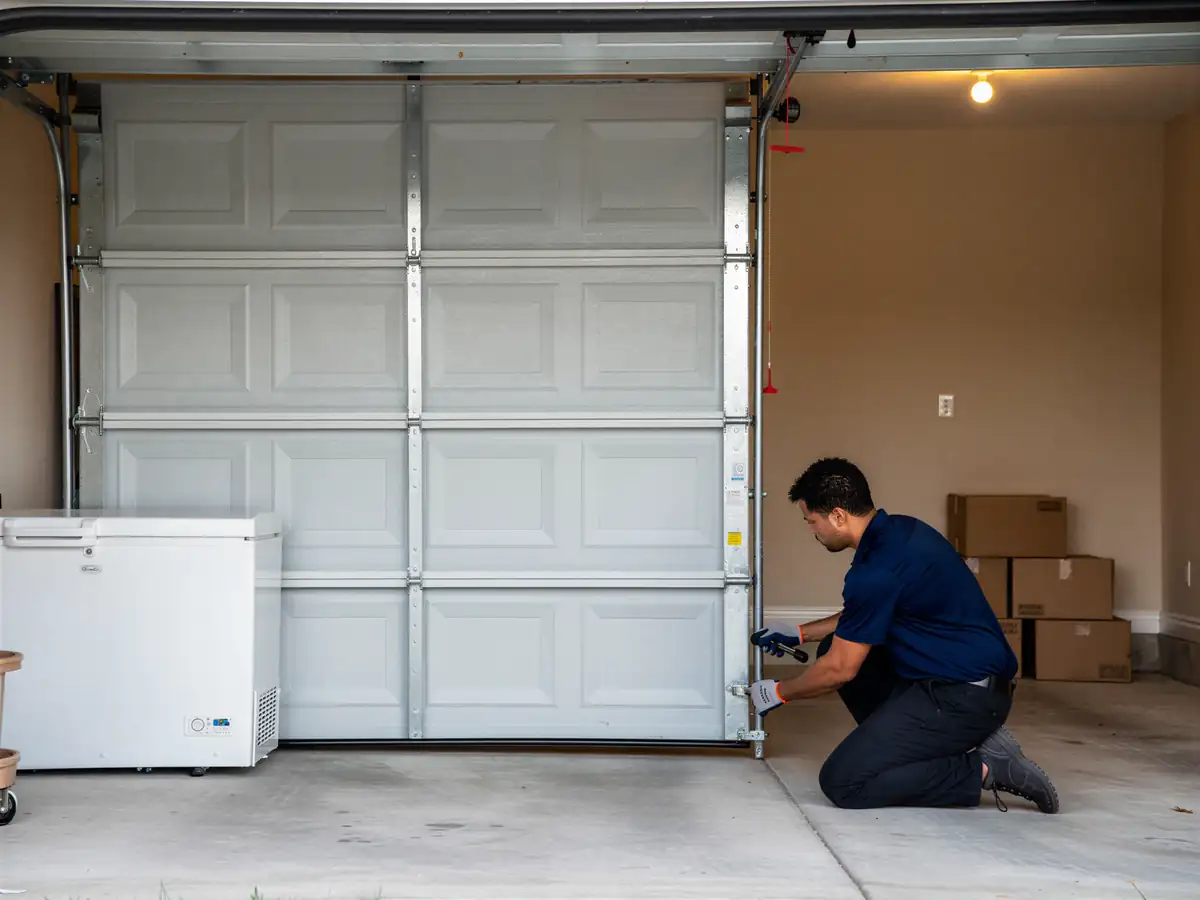
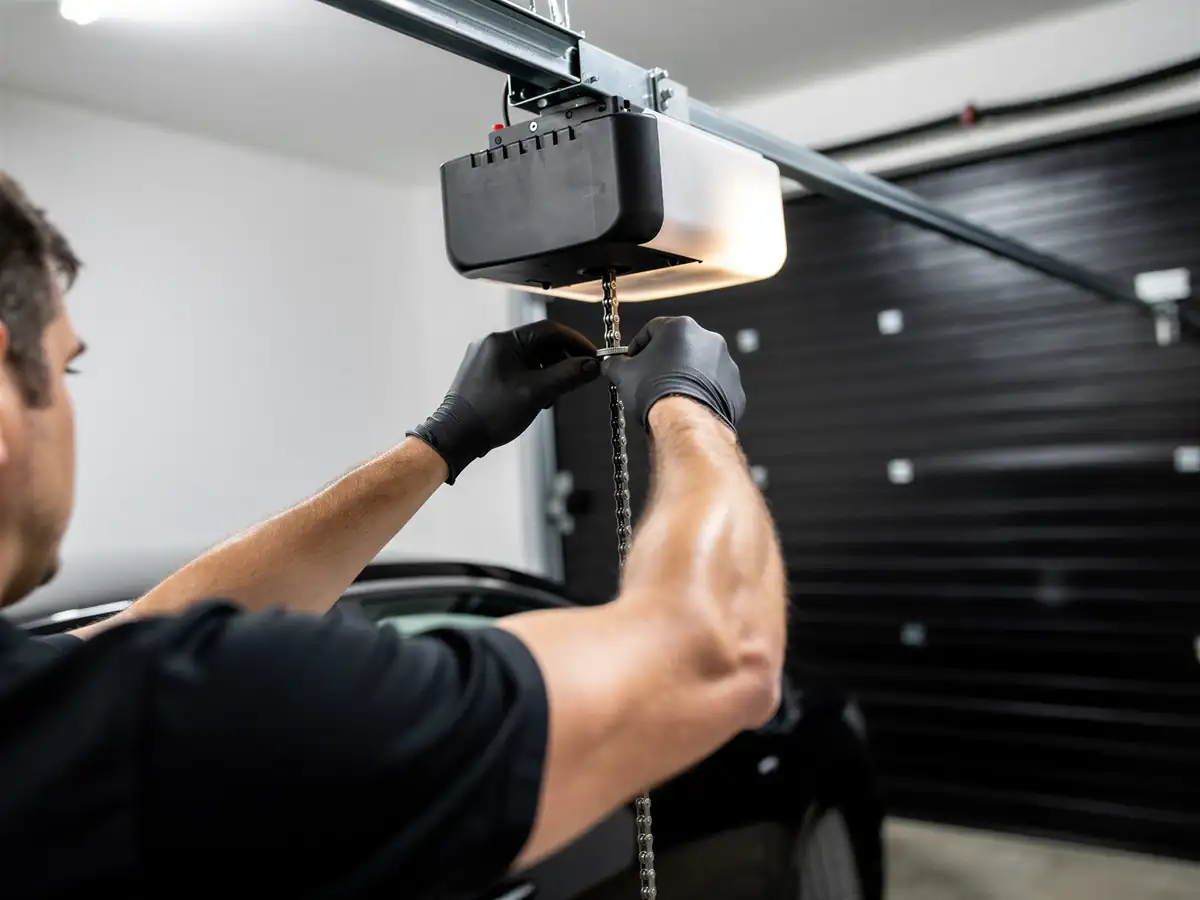
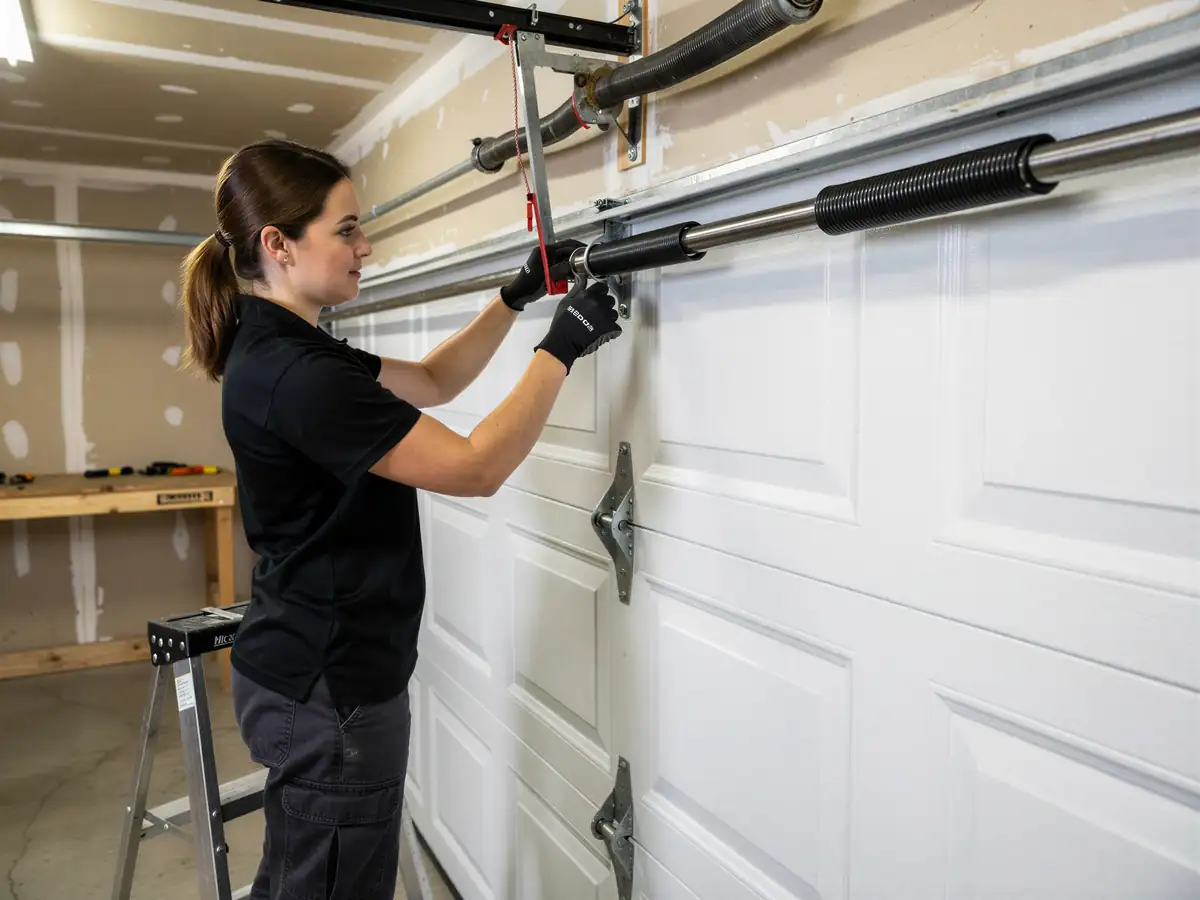
Installation starts with measuring the actual opening, not the nominal size stamped on the old door, and checking the header and jamb for square and for rot where the old weatherstrip let water in. From there we size the new door and track to the real opening, set the spring system to match the door's actual weight rather than a generic chart, and balance it so the door holds position halfway open under hand pressure - that balance test is the single best sign a torsion system is set up correctly. We'll also check the opener's force settings once the new door is hung, since a door that's heavier or lighter than the old one needs the opener re-tuned or it'll either strain the motor or fail the reversal safety test. One honest limit here: specific door panel styles and insulation packages sometimes have a lead time of a week or more depending on the manufacturer, and we won't promise same-week delivery on anything we haven't got confirmed from the supplier.
Can You Do This Yourself
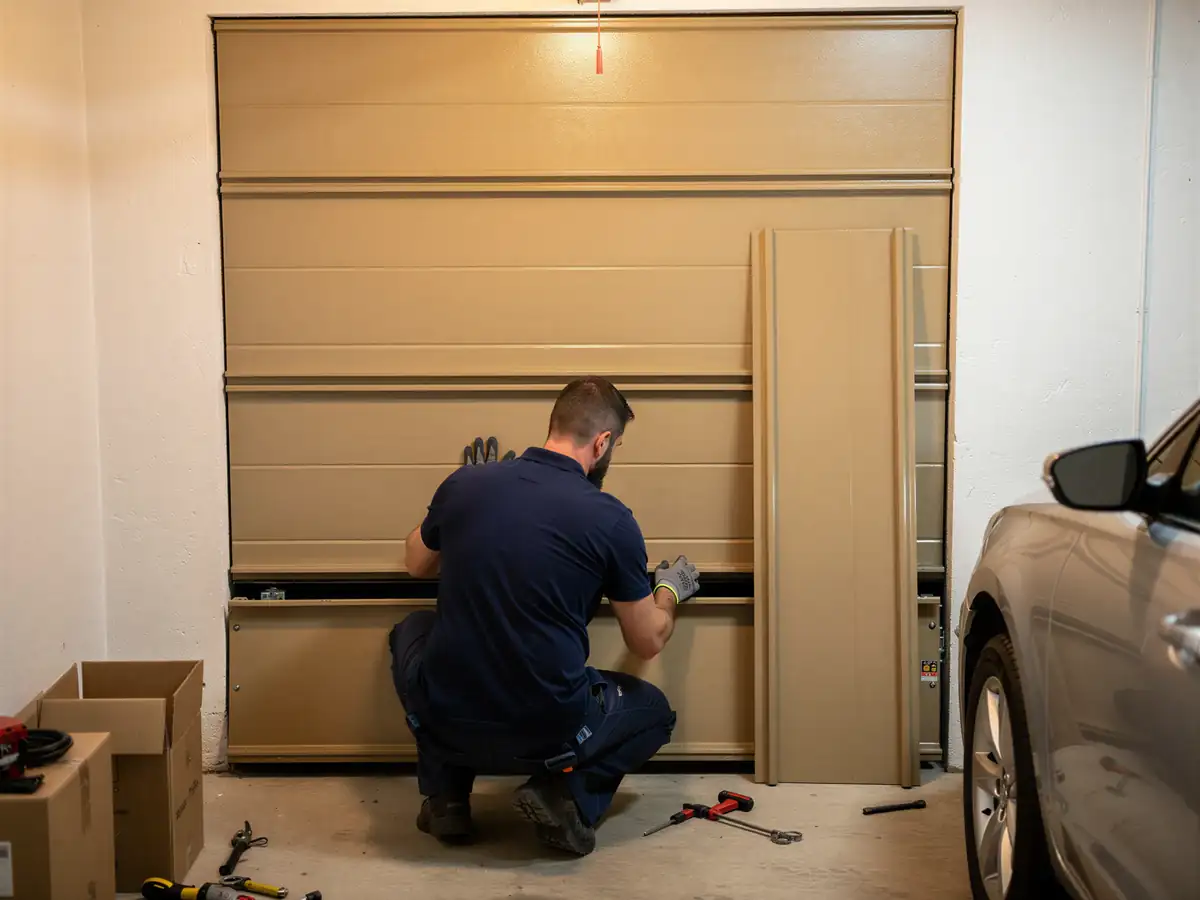
Hanging the door panels themselves is within reach for someone comfortable with basic tools and willing to follow the manufacturer's instructions section by section - it's slow work but not dangerous by itself. The torsion spring is the part to leave alone. A torsion spring under full tension can take a hand off or crack a skull if the winding bars slip, and getting the wind count wrong on a door this size is an expensive way to find out the hard way. If you're set on doing the panel work yourself, we're glad to come out just to set and balance the spring system once the door's hung - that's a smaller job than a full install and it's the part where a mistake actually hurts someone.